What's new in Studio v1
A practical tour of layers, camera, projections and export, with real screenshots and a six-second exercise.
Reviewed
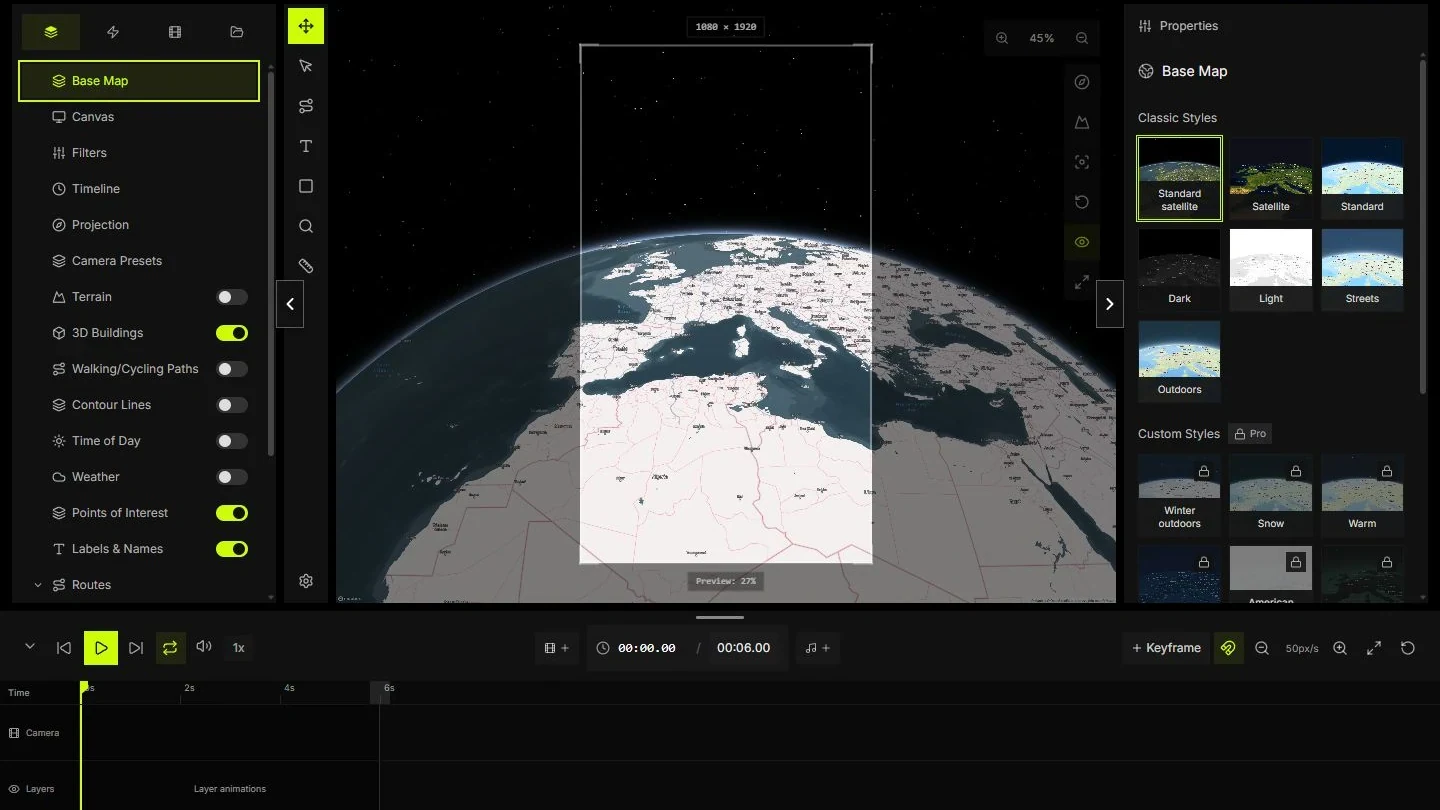
A map animation needs decisions about framing and time. This revised tour follows the controls visible in Studio today. The original publication date remains part of the archive. Screenshots document the current interface; they do not establish when a feature was released.
Separate the map, labels and route
Keep the base map, route and text as separate layers. Give them names that describe their role. Hide a layer to check whether it contributes information. Lock a layer once its placement is settled so an accidental selection does not move it.
Visibility and timing solve different problems. A visible label still needs the correct interval on the timeline. Test the map with decorative overlays hidden before deciding they improve it.
- Use R for the route tool and T for a text label.
- Show the origin before the route starts.
- Keep the destination label visible during the final pause.
Plan keyframes and the reading pauses
Use the shot plan as a starting point: context at 0 seconds, the destination reached at 4 seconds and a hold until 6 seconds. Match the project duration to that plan. A six-second delivery at 30 frames per second contains about 180 frames; the final sampled frame is near 5.97 seconds.
Move the playhead through the start, middle and end. Check labels at the exact moments when the route enters and leaves the frame.
- Set the duration before arranging clips.
- Add camera keyframes only where the move needs to change.
- Scrub near 0, 3 and 5.9 seconds to check the whole composition.
Pick a projection for the question
A globe gives a world-scale view but shows only part of Earth at once. A flat view can make a regional comparison easier. Recheck the frame after changing projection because the same coordinates can occupy a different part of the composition.
Mapbox documents limitations for 3D effects on adaptive projections. Use Globe or Mercator when terrain or 3D layers are essential, and test the exact combination in Studio rather than assuming every projection supports every effect.
- Use a world view for global context.
- Check both endpoints after switching projection.
- Test terrain and buildings in the chosen projection before export.
Use relief to explain the geography
Terrain adds elevation to the map surface. Buildings are separate objects. A low camera can reveal a ridge, but it can also hide the destination behind it. Start with a moderate pitch and increase it only when the relief helps explain the shot.
Exaggeration changes the visual interpretation of height. Record any deliberate exaggeration when the map makes a geographic claim. A visual demo does not replace surveyed elevation or navigation data.
- Compare the same frame with relief off and on.
- Keep important labels clear of foreground terrain.
- Check the selected projection's terrain support.
Set format, frame rate and bitrate deliberately
Open Export and check that its dimensions match the preview. Start with the frame rate required by your edit, often 24, 25 or 30 frames per second. Choose MP4 or WebM according to the destination and the available encoder. Browser codec support can vary.
At 10 megabits per second, six seconds of video is roughly 7.5 megabytes before audio and container overhead. This is a size estimate, not a guarantee of sharp labels.
- Confirm aspect ratio and output dimensions.
- Check a short sample in the app that will receive it.
- Increase bitrate only after the frame and labels are correct.
Finish with a repeatable delivery check
Play the exported file from start to finish in the intended viewer. Check the opening context, arrival pause, smallest text and any audio ending. Then test the version delivered through your publishing or editing workflow, since another service may recompress it.
Keep the project, shot plan and final output together. Record dimensions, frame rate and the date of the check. A second person should be able to identify the same settings without reconstructing your editing session.
- Confirm the full duration and final pause.
- Open the file on the target device.
- Keep a source credit and the settings used for delivery.
Exercise files
Reference files for the exercise. Coordinates are illustrative, not road directions. The CSV is a shot plan, not a Studio import format.
Sources and verification
- MapsAnimation StudioMapsAnimation ·
- ProjectionsMapbox ·
- Add 3D terrain to a mapMapbox ·
- MapsAnimation ChangelogMapsAnimation ·